Cookie Monster 2nd Birthday Tag
Posted: June 28, 2012 Filed under: crafts, graphic design 2 CommentsThis post is brought to you by the letter C and the number 2

A few days ago I had the opportunity to create these super fun Cookie Monster tags. My client wanted to use them on favor bags she was handing out to celebrate her son’s second birthday. And I thought they turned out so cute that I wanted to share them here too.

These little tags are a great way to personalize party favors.
Aren’t they just the sweetest finishing touch?

But why stop there? These would be awesome as gift tags too. So I removed the name and birth date, added a “from” line and ta-daaaaa…
Now you can download and print your own! And once you do, all you have to do is trim them out and punch a hole in the top.

And then tie it on with a bit of ribbon. Easy peasy.

I really hope these can be useful for someone out there! But, the only thing I ask is that you use the download for personal use only. 🙂
The Art of Trading
Posted: January 5, 2012 Filed under: graphic design, life, photography 1 CommentLast November I started thinking about the upcoming holiday card that I would be designing. I really wanted to have a nice photo of the four of us to send to our friends and family. Plus, I would get a few nice photos of us as a family to put up around the house. So, I asked my good friend, co-worker and awesome photographer, Bill Dabney (www.dabneyphotography.com) if he would help me out.
As it turned out, Bill needed something from me, too. He wanted a new logo design for his photography business. So we struck a deal. I would design a logo for him and he would take photos for me. Win-win.
When I asked Bill what he wanted from a logo this is what he said:
I guess I’m looking for something that’s a step beyond basic, but not so elaborate that it distracts from the image itself. Something that can be used both small on the image and large on a website. It should be catchy, yet professional, and smart.
I love that little bit of direction. Enough to get started and know what way to go, but not so much that I’m limited in creativity. The perfect client.
These are the first round of options I presented to Bill:

The first option I like because it incorporates the letters b, d, and p in a way that is reminiscent of an accordion style antique camera. The second option I chose because it also incorporates the letter b and reminds me of a roll of film. The third option is my favorite. All of the letters are there and their interaction makes an interesting graphic that works with and without the wordmark. The fourth option was my least favorite and a little too predictable.
Bill agreed with me and chose option 3. (yay!)
We worked together on a few revisions to get this final result:

It’s modern, masculine, clean and simple. It is strong enough to stand alone on his website, yet subtle enough to act as a watermark on his photos without distracting from the image.
Once the logo was finalized, Bill repaid me by setting a time for our family photoshoot. I really wanted to have photos of us that weren’t too posey or staged, but more in our natural element. We decided to use our town square and all it’s charm as our setting.
This one, along with the one on our holiday card, was taken just outside of our bookstore. I just love how we’re framed by those rockin’ orange columns and black and white tile.
(See that sucker in Mark’s right hand? You do what you have to do to get the kids to cooperate!)
Bill really did an awesome job capturing each of our personalities. And it wasn’t exactly easy. Spencer kept trying to run away. Laurel just wanted to play. But somehow he managed to give us 37 awesome shots. Here are a few more of my favorites:
I’ve already printed a few to put in frames around the house. It’s so nice to see photos of all 4 of us, especially when I’m usually the one behind the camera! I know we’ll cherish these forever. So I say a huge “THANK YOU” to Bill and his patience.
You can check out the rest of the shoot by clicking through the gallery below:
A Bouncing Birthday Invite
Posted: January 4, 2012 Filed under: graphic design, life Leave a commentOn a cold day in January at 3:44pm we were handed the best gift we ever could receive in the form of this 7lb 4oz bundle of pink squirmy love.
That was almost 5 years ago and boy how things have changed.
Our first baby has grown into such a sweet, polite, smart, and caring little girl. I couldn’t be more proud of her.
So, now with her birthday less than 2 weeks away, I’m in full on party planning mode. And having a birthday in January kinda limits what we can do. The past 4 years we’ve just held it at home with mostly family attending. But this year, we’re planning a big party with all her friends and family at an indoor bounce house place. To get the word out about our bouncing birthday bash, I designed and printed these super cute invitations for her to hand out to all her classmates. She was so excited to take them to school today. I think she told me 5 times not to forget her invitations.
 The little girl is from a stock illustration that I purchased from istockphoto, my go to place for inexpensive, royalty free photos and illustrations. I tweaked it a bit to match the birthday girl’s hair color and personality, and then layered it with a couple of bouncy cloud shapes and star bursts just for fun.
I think designing invitations is probably my favorite part of graphic design. They are the first thing your guests will see and they really help set the tone of the event. I just love trying to capture the vibe of a party on a printed invitation.
And just in case anyone was wondering, I’d love to help you with an invitation design for your next party! Birthday parties, anniversaries, weddings, bridal or baby showers… just let me know if you’re interested by dropping me a line at craftdrunk@gmail.com. I promise I’ll give you a great deal and an invitation that is truly unique to your special event.
Teeny tiny notecards
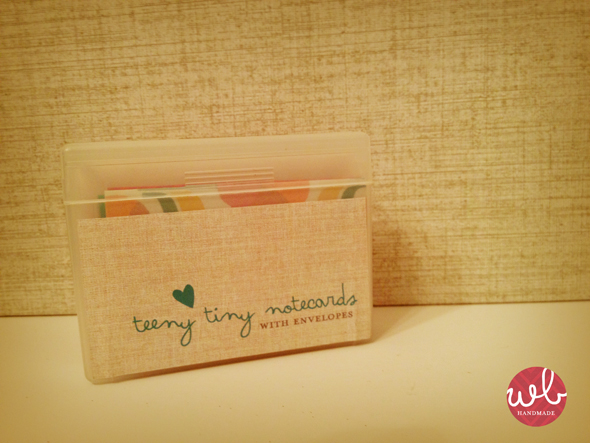
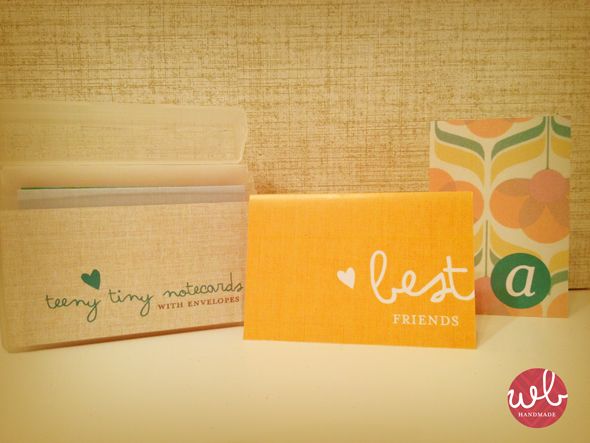
Posted: December 20, 2011 Filed under: crafts, gifts, graphic design 2 CommentsA few days ago I designed and made these teeny tiny notecards and envelopes.
It all started when I was cleaning out the bathroom and found this box.
Can you tell what it was in its former life?
It was a travel sized box of q-tips.
The box was empty and I didn’t want to just throw it away. So I came up with a way to reuse it.
I measured the box and designed the little cards using Adobe Illustrator.
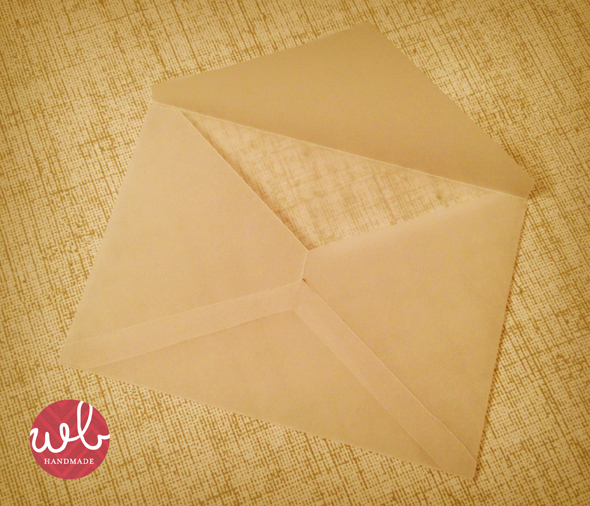
The finished size is about 2″x3″. The little envelopes were made from a template I designed in Illustrator. I just printed it and constructed it from velum paper.
They are so cute and tiny! I made these to give as a gift, but I’m dying to make a set for myself.
Happy Holidays!
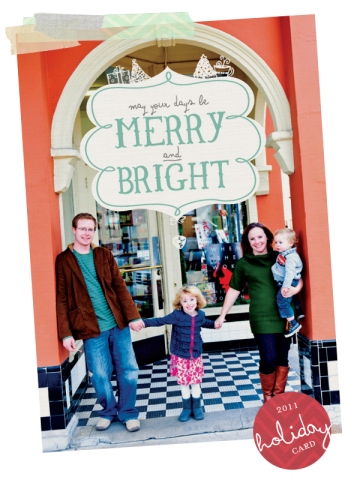
Posted: December 8, 2011 Filed under: graphic design, life | Tags: christmas, graphic design, holidays, life 1 CommentGetting ready for the holidays always means designing a new holiday card to send to
our friends and family.
This year’s design is super exciting because these are the first photos we’ve had taken as a family since Spencer was born.
That was 19 months ago.
Geeze, that sounds bad. I mean, there are photos of the baby. Trust me.
Just not any of the 4 of us together.
So, this year is special.
Special thanks to Bill Dabney Photography for putting up with a less than cooperative toddler and capturing some awesome moments.


